
The Actual News:
A lot of stuff has been happening since the release of New Pokémon Snap! For today’s post, I got:
- a little New Pokémon Snap update notice
- a small update to the Colordex based on the type icons revealed in NPS
- a new technique to get HYPER MEGA high-res pictures from NPS
Is this new right up your alley? If so, stick around! If not… well, thanks for visiting anyways.
Revamp of the Lentalian Alphabet Page
OK so first off, I just wanted to give the Deciphering the Lentalian Alphabet of Lental page a spiffy do-over, especially since it’s hasn’t been updated in months and it had been getting a lot of traffic from new players everyone wanting to know what exactly this says:

THIS IS A FALSE SUBTITLE! IT IS MADE OF LIES AND DECEPTION
Anyways, after getting the game, taking tons of screenshots of more Lentalian text, and then filling out the rest of the knowable letters—as well as realizing that four letters are still MIA—I finally felt it was time to give that page an update. And so I did! Huzzah! So now the page is far more complete, at least when it comes to understanding the alphabet of the Lental Region. In fact, I also realized that there was an ancient form of Lentalian, so I even updated the page to cover that.
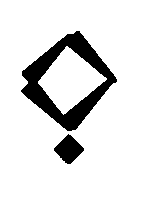
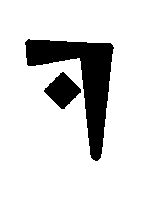
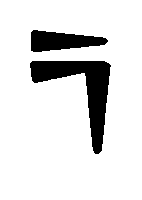
To get a taste of the update to the Lentalian Alphabet page, you can see my handy Lentalian alphabet chart below, in both Standard and Ancient forms.
| A | B | C | D | E | F | G | H | I | J | K | L | M | N | O | P | Q | R | S | T | U | V | W | X | Y | Z |
 |
 |
 |
 |
 |
 |
 |
 |
 |
 |
 |
 |
 |
 |
 |
 |
 |
 |
 |
 |
 |
 |
 |
 |
 |
 |
 |
 |
 |
 |
 |
 |
 |
 |
 |
 |
 |
 |
 |
 |
 |
 |
 |
 |
 |
 |
 |
 |
 |
 |
 |
 |
…
Pretty nifty keen, huh? If you want to see everything else there is to know about the Lentalian alphabet (at least, so far), then swing by the Deciphering the Lentalian Alphabet of Lental page!
New Pokémon Snap Colordex Update
You know me, I LOVE my colors. Looks like there were some long-term effects of having starting my original Pokémon journey back in Pallet Town! Now if you don’t know, I have a page on the site called the Colordex, which aims to collect every single color used to depict each of the various Pokémon elemental types—Grass, Fire, Water, etc—so that other artists can use them for their own artistic projects. Like, imagine drawing a picture of Tyranitar using only the colors that have ever been used to depict its Dark/Ground typing? Better yet, I’ve also attempted to collect the various graphics and symbols used to depict each type, such as the various Fist icons used to represent Fighting-type, etc.
Well, with a new Pokémon game comes new set of symbols and colors for me to add to the Colordex! But although this was something that usually would only take me a day to gather and process, it actually took me the better part of a week to get this bit together. This is only because the New Pokémon Snap Photodex entries for every Pokémon has really piddly-small type icons and there really is no way to get high quality information from them. I mean, just look at this!

Can you see that? I sure the heck can’t!
Fortunately, however, jumbo-sized versions of each type were made available as player icons, AND plenty of players in the online sections of the game would use these icons in their profiles. Best of all, they’re just nice and big, perfect for addition to the Colordex. Take a look!
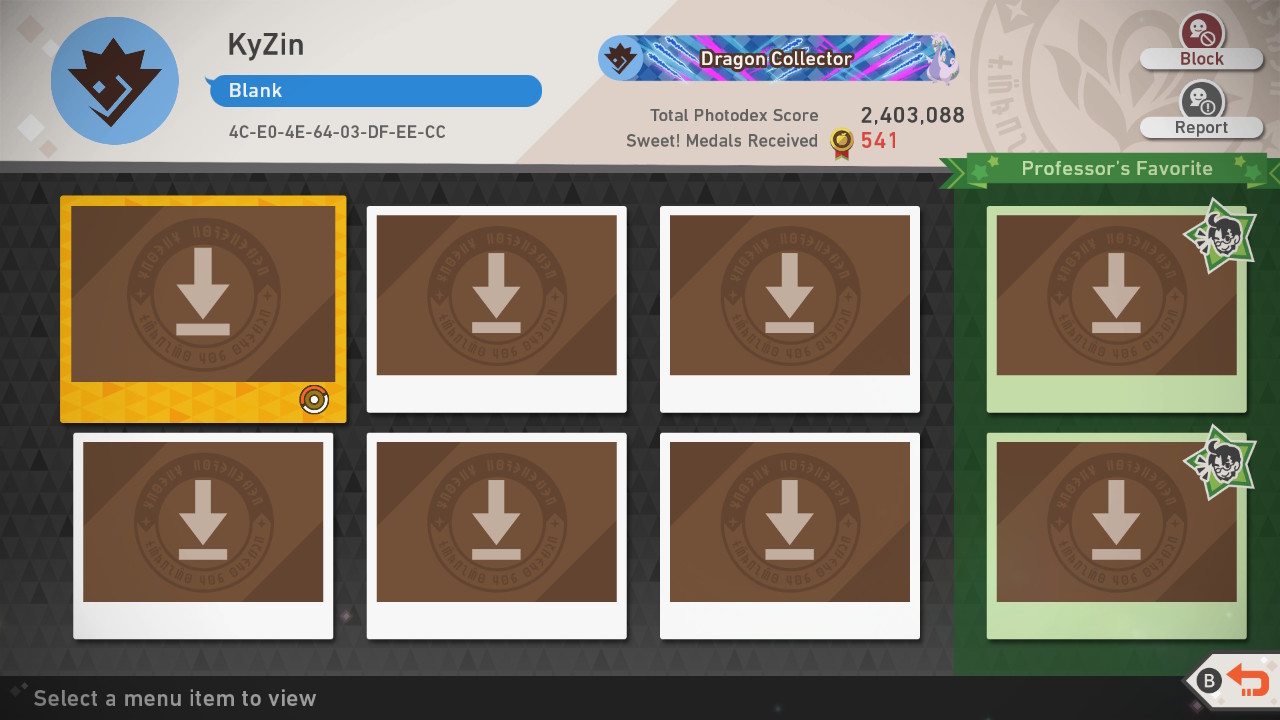
(Yeesh, how the heck does anyone manage to get 2 million points within days of getting the dang game!)
Anyways, now that I was able to get pictures of every single type icon, I finally was able to fill out the Colordex entries for each NPS type. And here they are!
 |
Bug #bed35a |
|
 |
Dark #a9aeb0 |
|
 |
Dragon #7cb4e8 |
|
 |
Electric #f0e562 |
|
 |
Fairy #f8b9f1 |
|
 |
Fighting #d69f9c |
|
 |
Fire #f18363 |
|
 |
Flying #aecaf1 |
|
 |
Ghost #a5abde |
|
 |
Grass #84c58c |
|
 |
Ground #debe8b |
|
 |
Ice #9be2d6 |
|
 |
Normal #cfccc7 |
|
 |
Poison #bd8fc6 |
|
 |
Psychic #f894af |
|
 |
Rock #d1966a |
|
 |
Steel #adc4bd |
|
 |
Water #7bd1e7 |
…
Wow! I must admit these type icons are really creative. Like, they all incorporate a diamond design in each type. In fact, other icons used in the game use the diamond or otherwise very angular motif, such as the PokéBall (with a square “button”) and the designs on the Photodex “book” cover. Anyways, the Colordex page itself will be updated with this information soon, along with Crown Tundra scarf colors that I completely forgot about. At least I didn’t forget to add the HGSS, BW and BW2 “attack box” colors from last month…
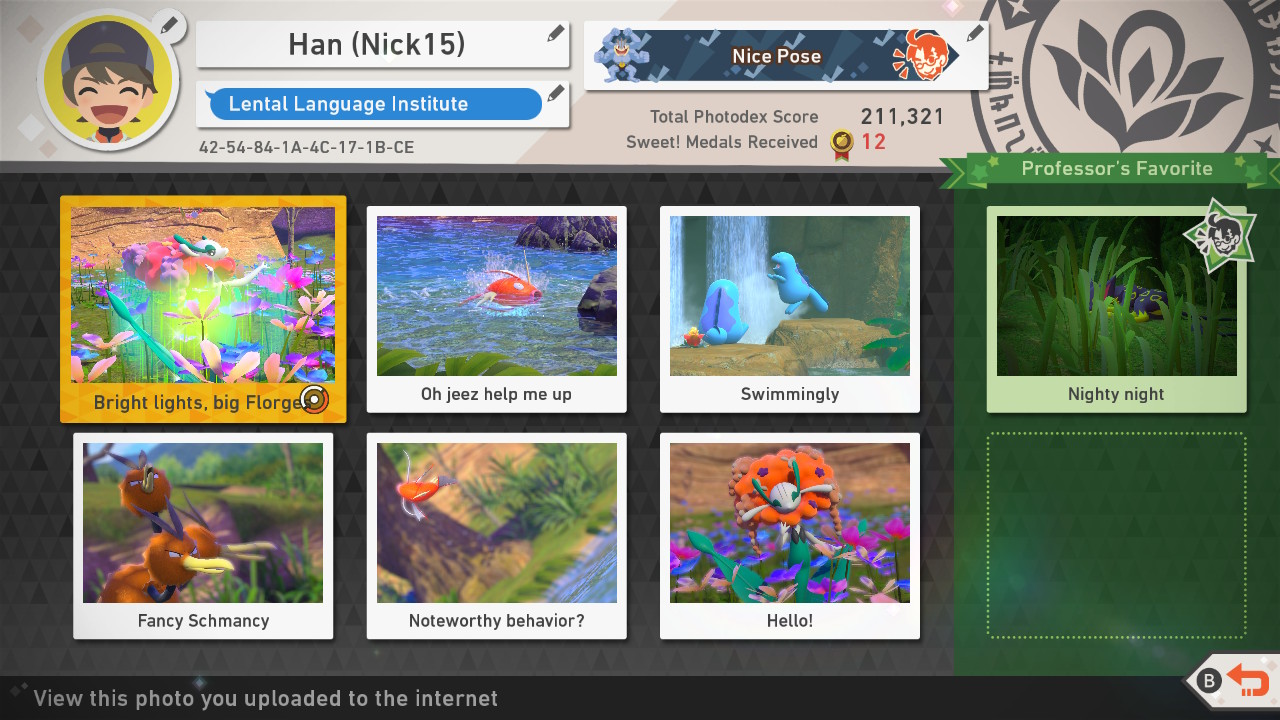
Side note: here’s my profile! I wonder how you can add people as friends? Well, at least you have my user code. Let’s be friend! 
…
Jumbo High Quality Snaps
Are you tired of your New Pokémon Snap pictures looking a bit small and low quality like this?

Wouldn’t it be neat if your photos looked as high quality as… this??

“But wait!” you say, “low quality is what ALL New Pokémon Snap photos look like! How can it look any better??”
I’m glad you asked! It’s simply really: just get all Diamond ratings on EVERY star photos for a single Pokémon, and you’ll unlock high-res mode for only that Pokémon!! You can trust me too, my Dad works at Nintendo.
OK OK, I’m just joking about that (awww, it almost felt like the good ol’ days of fake video game cheats for a second there, huh?)… BUT! High-res mode is NOT impossible to pull off in New Pokémon Snap. Now fair warning, it will involve a bit of elbow grease and a LOT of extra save data space… but it’s absolutely possible to pull off! And you don’t need to do anything like take 256 pictures of Mew and then turn your game off for exactly 15 minutes in order to unlock a secret extra mode.
…
OK so if you don’t know already, when you finish a research mission, you’re able to save the pictures that you took by clicking on “Save Photos to Album”, choosing one of the pictures you took, and then selecting “Resnap Photo”.
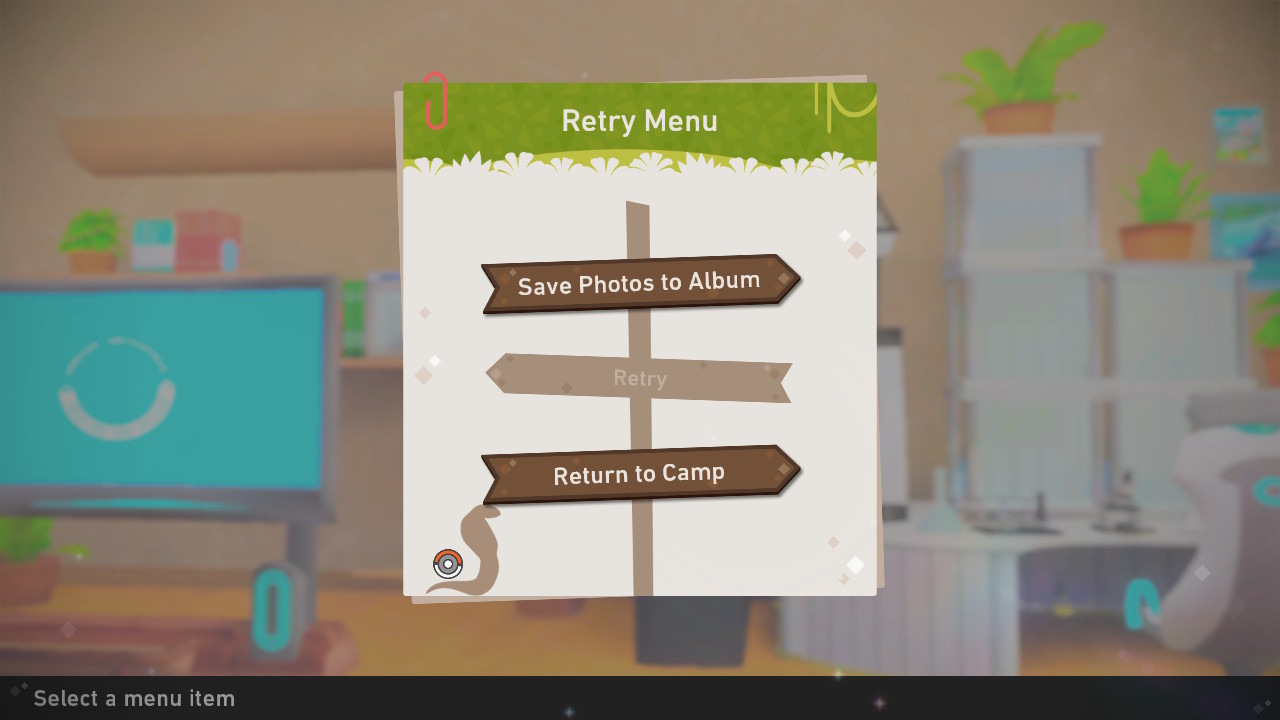
Doing so allows you to bring you back to that moment in time and play with the camera settings, such as zooming in and out, fiddling with the blur, tilting the camera, etc.
Well, in being able to retake your photo, you actually have NO limits to how many times you can retake it. So what you can do is zoom in all the way, take a picture of one part of the photo, move the camera to choose another part of the picture, take it, and continue on and on until you have multiple pictures of your Pokémon that you can piece together in something like Adobe Photoshop. Here, lemme show you what I mean:
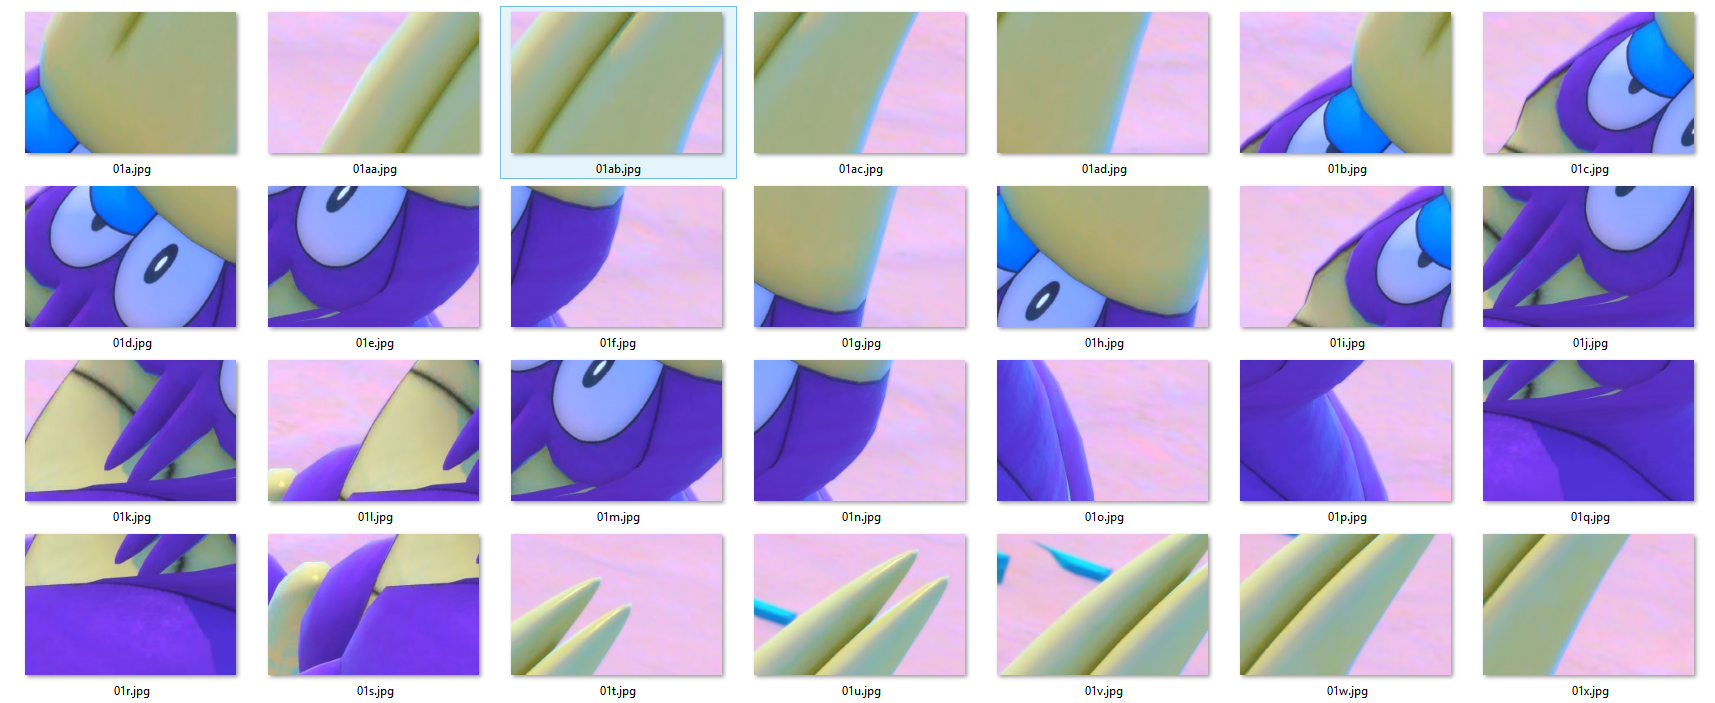
So for that high quality Crabrawler photo I took above, it was actually pieced together from a LOT of pictures I took of that Crabrawler all zoomed in. I took enough that I was able to piece it together in Photoshop. That said, if you want to do something like this, make sure you take the right kind of pictures so that they overlap! Like, look at pictures 01d.jpg and 01e.jpg… see how Crabrawler’s left eye is in both? I use that to help me line the two pictures up. All the pictures have some degree of overlap with one another, allowing me to piece together a giant picture of Crabrawler.
Speaking of which, since I was able to zoom in using the Resnap feature, this is the kind of detail I could get:
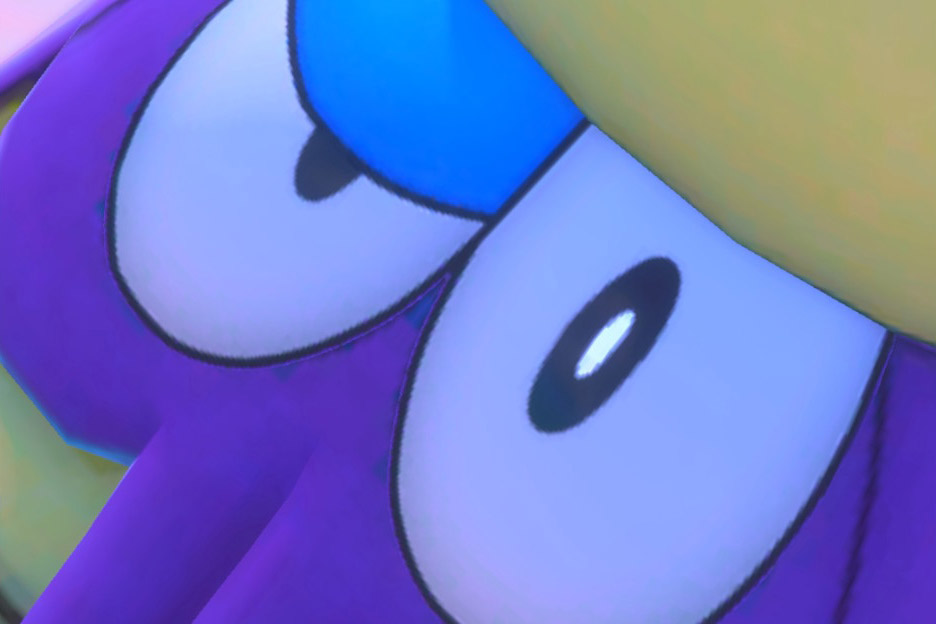
WOWZAH! Hey, you’re in me personal space there, Crabrawler!
Now there’s a fair warning for working on something like this… this was my first attempt on working on something like this, so I was a bit inefficient in how I took my pictures. To get Crabrawler’s entire body at this quality, I ended up taking something like 443 photos. EEEP! But I’m sure if you’re a lot more efficient than I am, as well as keeping better track of what pictures you already took so you aren’t retaking the same picture over and over again… then it might only take about 100 to 150 pictures. Yeeeeeeesh, yeah that is still a lot… but in order to pull out a high quality photo of your favorite Pokémon from New Pokémon Snap like that? Well, hey, sometimes good art is worth sacraficing for!
That’s pretty much what you need to do to take a high-res photo in New Pokémon Snap, but don’t worry, I plan on writing up a proper page with better step-by-step instructions and better screenshots to help make better sense of what you need to do. But hopefully this quick introduction to it whets your appetite for this process and hey, maybe you can pull off some better snaps right away. Go for it!!
…
Anyways, that’s it for today’s post! I need to get back to working on my Unity Coursework soon, since the Second Part started last week. But I’ve also been waaaaay overdue on updating the site… hey, like I said, sometimes good art is worth sacraficing for. Still, I do have on last major update for you planned before I go back full force on my Unity work… so keep an eye out for that very soon. Huzzah! Good times.