
The Actual News:
Hey folks! I still owe you a few “catch-up” posts, but I still need to do a bit of catching up on my catch-ups!

Ketchup, anyone?
But in the mean time, I just wanted to let you guys know that I’m not just sitting on my butt, twiddling my thumbs… I’ve actually been investing that time and energy heavily into the long-term well-being of the site.
So get this: I came into a bit of cash recently, but instead of spending 90% of it on wine, women and song (and then wasting the other 10%), I actually put it towards things I’ve been meaning to get for the website. Check out some of the fun little projects I’ve been working on here:
Game Box
This is actually more of a personal thing, but when I was 10 years old, I took some of my Dad’s old scrap wood and built a little video game box with it. Y’know, to store all my Super Nintendo games in. But this was before I understood such complex concepts like “measuring” and “width & depth”, so the box I made didn’t exactly fix my Super Nintendo game in properly. I mean, technically they fit, but no matter how I placed them, there was always some kind of extra wiggle-room space to work with.

Awww but hey, it’s still a pretty adorable box, made by the cuter, more marketable version of myself. My Dad even helped write “Super Mario” on the side for me!
But upon recently rediscovering it in my adult years, I noticed that it was looking a bit long-in-the-tooth. Apparently some water got into it, and it warped the press-board a bit and it started popping in the seams. I patched it up as well as I could… but I decided… maybe I should just make a new one from scratch? Maybe one that can hold different carts from different game systems, and one that doesn’t have much unneeded extra space in it. And so that’s what I decided to do! Check out the prototype below:

It’s still a work in progress, but I at least got the board measured and cut right, as well as added in spacers to keep the different game sizes in their respective sections. And yes, I will be including “Super Mario” on in somewhere. I also calculated the most ideal box size based on the different thicknesses of the games involved…
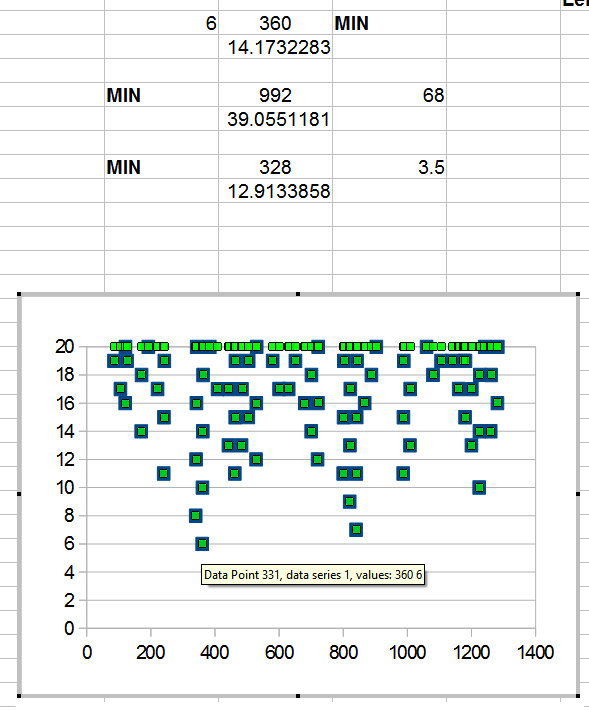
Which, long story short, ended up being 360mm in length… this allows me to comfortably fit 21 Sega Master System & Genesis/MegaDrive games, 18 Atari 2600 and NES (with sleeves) games, 17 Atari 8-bit games, and 15 SNES (with sleeves) games with a minimal number of extra space. THAT’S MATHEMATICS, BABY!
Although this is more of a personal project, these kinds of gaming-related projects are something I’d like to share with others, particularly with a YouTube series. For example, I could make a video where I explain how you can make your own game storage box, or maybe an 70’s/80’s-style wooden movable TV tray. Afterall, why not quite literally build your retro game center instead of just collecting game systems and buying furnature from Wal-Mart or Target to store them in? Nothing gives a collection some soul like a little personal touch, hmmm?
3D Printer Time!
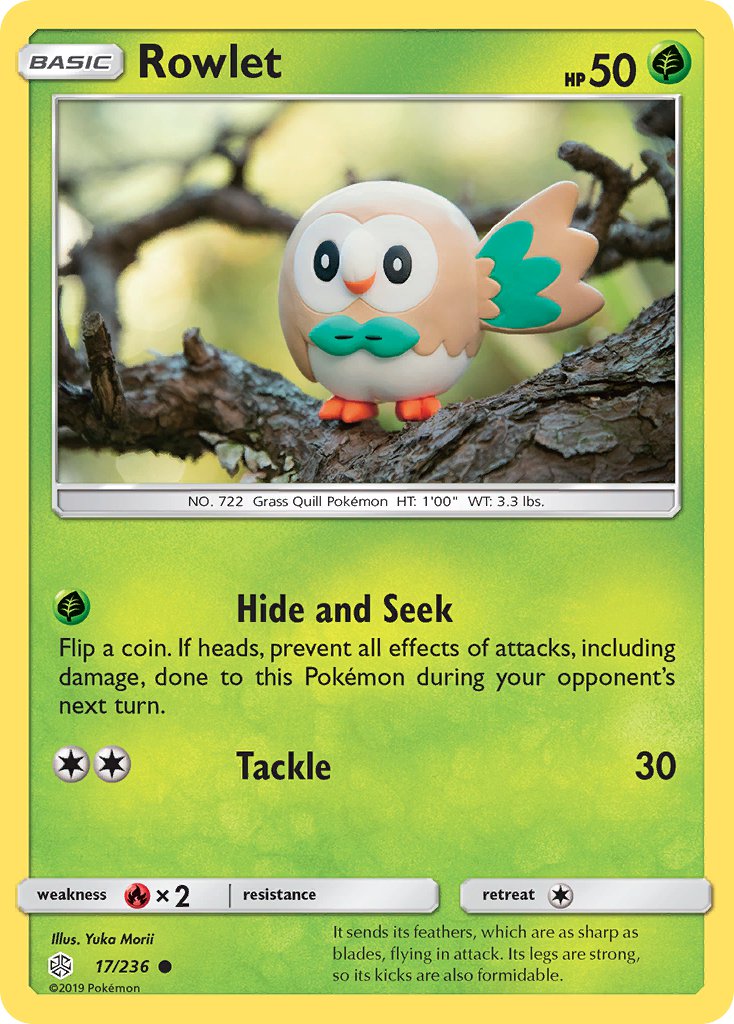
Now this one is for those of you waiting for me to get back into making fake cards. For those of you who are not familiar with the fakes I made, I tried my best to add a touch of variety with my fakes by using different art styles. The goal was to make it really feel like the fake cards I made were part of a real-life set, instead of making it blatantly obvious that only one person was behind it. I mean, not that that’s a bad thing, but I wanted the variety to help whisk the viewer away for a little bit and make it feel like they’ve opened up a new pack of cards.
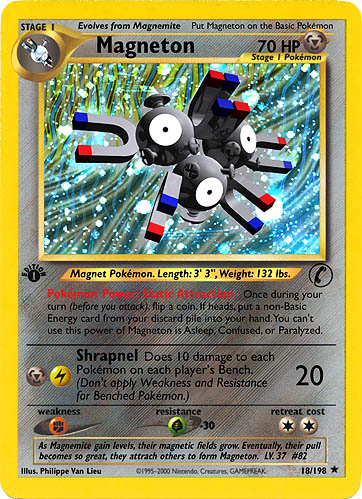

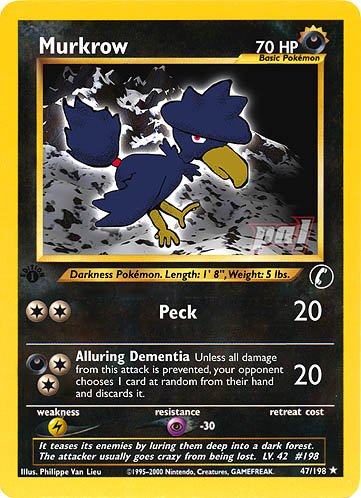

Hopefully you can get an idea of the variety of styles used in my old fake cards.
Weeeelllll…. a lot has changed in the 20-something years since I made these. One of them was the invention of 3D printers! Well, as luck would have it—in the same way Bruce Wayne’s money makes him extremely lucky too—I managed to get a 3D printer!

I ended up getting a Creality Ender 3 printer, which after a bit of research I learned was the best 3D printer under $200. Basically it was a pretty decent value. I didn’t get any filament right away, so I only managed to print a small little doggy with the starter filament it came with.
But the reason I’m sharing this with you is because, combined with my newly acquired Unity design experience, I plan on designing some 3D Pokémon just like the good ol’ days… but this time I’ll be printing them out, painting them up, and then using them in my fakes. Nifty, huh?? I’m thinking it might look something like these clay Pokémon cards, but definitely with a touch of Nick15:


Of course I still need to actually start making fakes… but as they say, the journey of a thousand miles/kilometers starts with a single step!
Hacked GameCube for Massive Damage
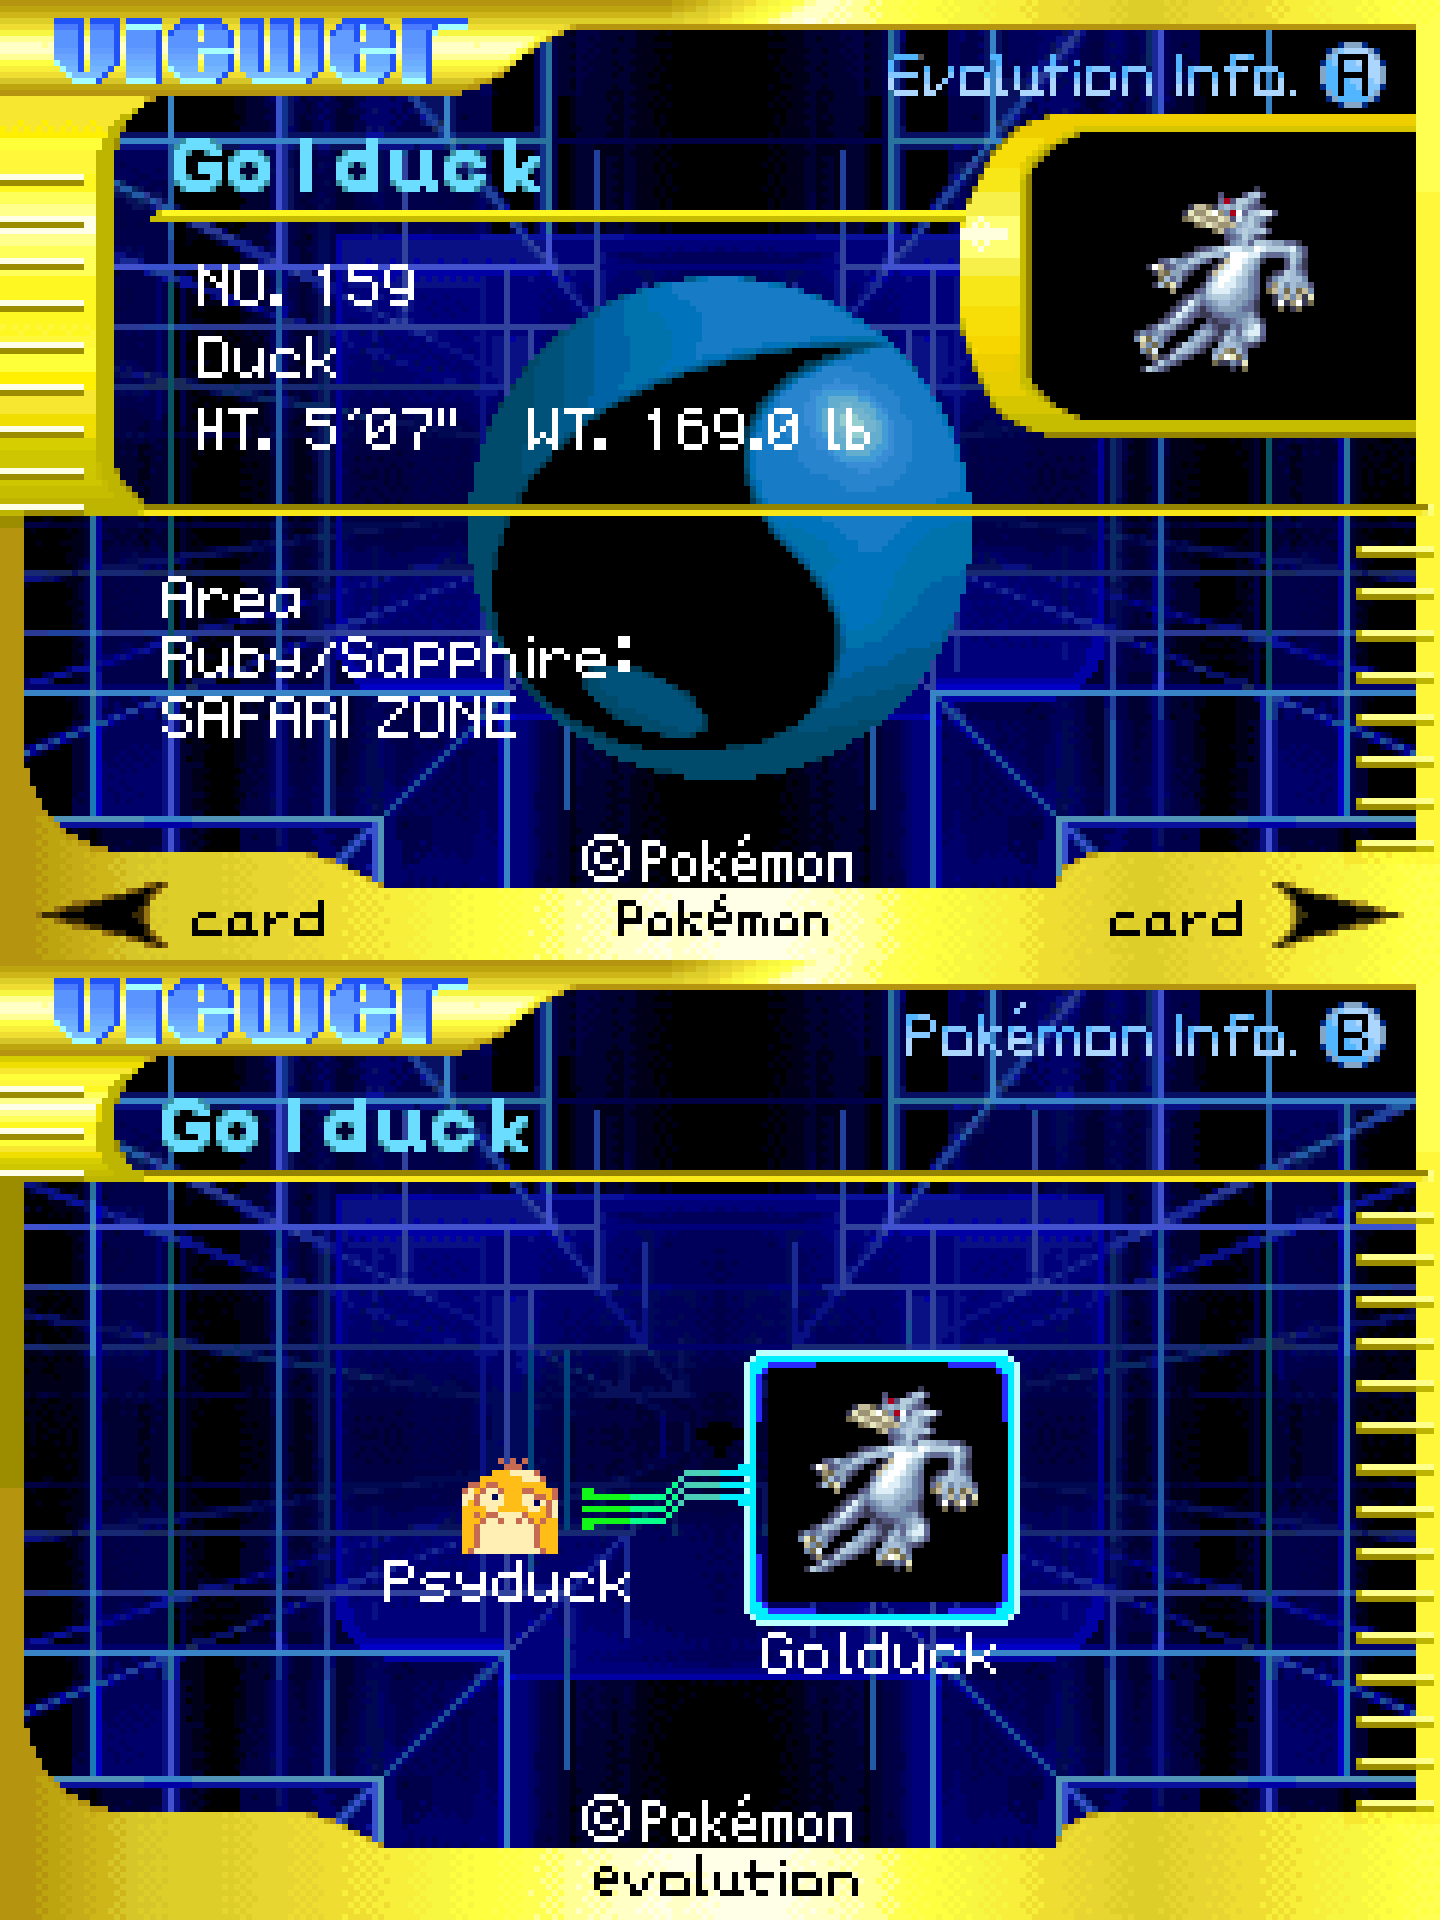
 But this is maybe the real biggy purchase I made, one which will actually fulfill a serious deficiency in Pokémon TCG research. So as you may know, between 2002 and 2004, Nintendo was really big on their e-Reader add-on for the Game Boy Advance… so much so that they slapped dot code scannable codes on Pokémon TCG cards. Well, turns out that the e-Reader add-on was a bit of a flop… and combined with the fact that they were on Pokémon TCG sets which were printed in limited numbers due to the end of Wizards’ Pokémon license… there really hasn’t been much recorded about this mysterious period of Pokémon history.
Well… that’s where I come in! During that period of my life, money was extremely good, and I managed to buy a TON of Expedition, Aquapolis and Skyridge… at least two boxes of each. So I’ve got a TON of cards left over from that era. Not to mention I didn’t quit playing the Pokémon TCG until around EX:FRLG, which was round-about when Nintendo stopped supporting the e-Reader. Realizing this, I started working on a framework page for me to add in more info about the Card-E era of the TCG… but left most of it blank until I managed to work out a way to get high quality, accurate screen captures from the scanned cards. Afterall, it’s not like these cards are easily emulated and thus anyone with a copy of VisualBoyAdvance can get screenshots of them.
Fortunately for me (and, soon enough, the entire TCG community) all I needed to do was hack my GameCube in order to run Game Boy Interface, which is a high quality homebrew app for the Game Boy Player add-on that allows me to take screenshots of any game I have running on the Game Boy Player… such as scanned e-Reader cards! And with that finally out of the way, I can actually begin work on scanning as many Card-E cards as I can and ripping as much artwork from them as possible. Just take a look at what’s possible:


…
There is just so much information, card analysis and unique sprite-work locked away in these old cards that I’m legitimately surprised no one has really gone and record any of these details. But I aim to change that as much as possible! Again, I have the Card-E page ready to go, I just have to actually ripping and cataloging everything once and for all.
Talk is Cheap…
OK OK yeah yeah, it’s easy for me to just say I’ll be working on this, but it’s something else for me to actually do it… so, I guess that’s just what I’ll have to do then!
But again, the whole point of this post is to share with you all the things I’ve acquired to the purpose of investing back into content creation for the site. Whether it’s working out some interesting woodcrafty designs to be used in a future YouTube video, or using my new 3D printer to create physical Pokémon models to use in future fake cards, or using my hacked GameCube as a way to get a clean screenshot from a Game Boy Advance game which has no easy way of emulating… it’s all done because I want to keep creating fresh new content for you. Huzzah!
So I guess then my next steps—after sharing the remaining catch-up updates I have planned—will be to actually start work on all of the above as much as possible. Well, definitely the Card-E stuff first at least. In that case, just keep an eye out for everything (as always). Good times…